进来看看嘛,说不定有你需要的呢。。。
# 前言
vuepress的好处就不用我多说了,对于我这种白嫖党来说简直是太方便了,一开始用的时候是想着把平时工作中遇到的问题纪录下来,好记性不如烂笔头嘛,于是就用vuepress搭建了一个简单的博客,后面发现vuepress提供的主题有点简陋,虽然咱是白嫖党,但是也要有点追求嘛不是,所以就开始上网找有没有合适的主题,绕了一大圈终于找到这个主题,vuepress-theme-reco (opens new window),简洁又美观,下面就是使用过程中的一些小结。
# 首页
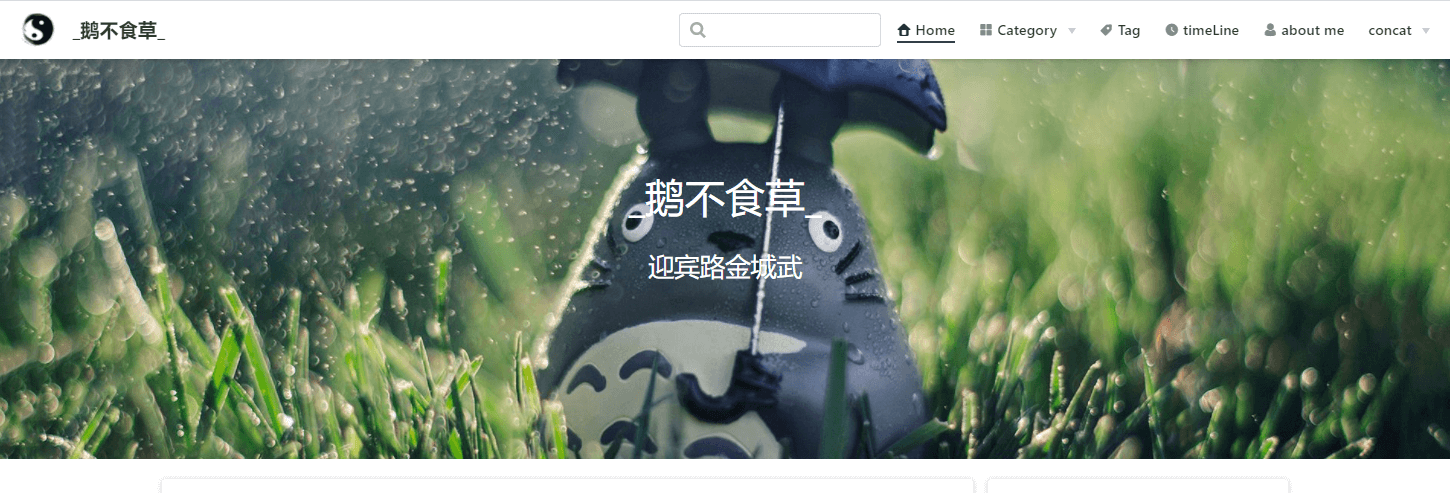
改造之前是这样的

- 导航栏透明化+取消吸顶
导航栏通过改写样式实现,在 .vuepress 文件下新建 style 文件夹,然后再新建 index.styl 文件,写入对应的样式,注意有些样式可能无法覆盖默认的样式,可以在首页文件自定义类名来提高优先级,详情查看这里 (opens new window)
- 背景全屏+箭头引导效果

这里有一个向下浮动的效果,点击之后会定位到文章列表处,我看到有好几个博客都用了这种效果,但是都没说是具体是怎么实现的,我的实现方法是在首页的 index.md 文件页面底部添加js与css来实现,具体代码如下:
点击查看代码
<style>
.anchor-down {
  display: block;
  margin: 12rem auto 0;
  bottom: 45px;
  width: 20px;
  height: 20px;
  font-size: 34px;
  text-align: center;
  animation: bounce-in 5s 3s infinite;
  position: absolute;
  left: 50%;
  bottom: 30%;
  margin-left: -10px;
  cursor: pointer;
}
@-webkit-keyframes bounce-in{
  0%{transform:translateY(0)}
  20%{transform:translateY(0)}
  50%{transform:translateY(-20px)}
  80%{transform:translateY(0)}
  to{transform:translateY(0)}
}
.anchor-down::before {
  content: "";
  width: 20px;
  height: 20px;
  display: block;
  border-right: 3px solid #fff;
  border-top: 3px solid #fff;
  transform: rotate(135deg);
  position: absolute;
  bottom: 10px;
}
.anchor-down::after {
  content: "";
  width: 20px;
  height: 20px;
  display: block;
  border-right: 3px solid #fff;
  border-top: 3px solid #fff;
  transform: rotate(135deg);
}
</style>

<script>
export default {
  mounted () {
    const ifJanchor = document.getElementById("JanchorDown");
    ifJanchor && ifJanchor.parentNode.removeChild(ifJanchor);
    let a = document.createElement('a');
    a.id = 'JanchorDown';
    a.className = 'anchor-down';
    document.getElementsByClassName('hero')[0].append(a);
    let targetA = document.getElementById("JanchorDown");
    targetA.addEventListener('click', e => { // 添加点击事件
      this.scrollFn();
    })
  },

  methods: {
    scrollFn() {
      const windowH = document.getElementsByClassName('hero')[0].clientHeight; // 获取窗口高度
      document.documentElement.scrollTop = windowH; // 滚动条滚动到指定位置
    }
  }
}
</script>
这样就能实现点击滚动的效果了,可以去首页 (opens new window)查看效果,通过以上方法还可以对页面进行更多的处理,大家可以根据需要自行探索。
# 插件
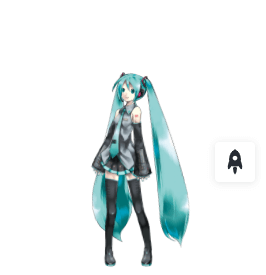
kanbanniang看板娘插件
先安装好依赖,然后在config.js里配置好插件,如下
  module.exports = {
    themeConfig: {
      plugins: [
        [
          "@vuepress-reco/vuepress-plugin-kan-ban-niang",
          {
              theme: ["miku"],
              clean: true,
              modelStyle: {
                position: "fixed",
                right: "65px",
                bottom: "0px",
                zIndex: 99999,
                pointerEvents: 'none'
              }
          }
        ],
      ]
    }
  }
效果如下

theme有多个配置可选,这里我只是选其中一个并且隐藏所有按钮,看起来清爽一点,具体配置可点击这里 (opens new window)进行查看。
valine评论插件
评论插件我用的是valine,配置之前要先在LeanCloud (opens new window)上注册账号并创建应用,获得appId和appKey之后就可以配置了
  module.exports = {
    themeConfig: {
      plugins: [
        ...
        [
          "@vuepress-reco/comments",
          {
            solution: 'valine',
            options: {
              appId: '你自己的appId',
              appKey: '你自己的appKey',
            }
          }
        ]
      ]
    }
  }
meting音乐插件
meting (opens new window) 插件可以在页面上生成一个播放器,如下

先安装好依赖,然后配置
  module.exports = {
    themeConfig: {
      ...
      plugins: [
        ...
        [
          "meting",
          {
            meting: {
              server: "netease", // netease:网易云,tencent:qq音乐,xiami:虾米音乐
              type: "playlist",
              mid: "歌单或音乐id",
            },
            aplayer: {
              autoplay: true,
              mini: true,
              theme: '#282c34'
            },
            mobile: {
              cover: false,
              lrc: false
            }
          }
        ]
      ]
    }
  }
# 组件
vuepress 可以在md文件里写vue,所以我们可以自己封装一些常用的组件,在需要的时候直接引入就行,非常方便,后续我也会写一些组件用在我的博客里。
# 总结
自己改造博客也是一件很好玩的事情,现在暂时只是样式上的修改,后面抽空再看下能不能对源码进行修改,有些修改需要改动到源码部分,在改造过程中也能提高自己的技术水平,写文章也变成一件有趣的事了。


